Small Shop Setup
How to Set Up a Small Woodworking Shop in a Garage or Spare Room
You do not need a big barn or thousands of dollars of machines to start woodworking. A corner of a garage, a sturdy bench and a handful of well-chosen tools are enough to build shelves, boxes, benches and gifts. This guide walks through planning a small shop in the order that saves the most money and frustration: space first, then power and light, then tools, storage, dust and safety.
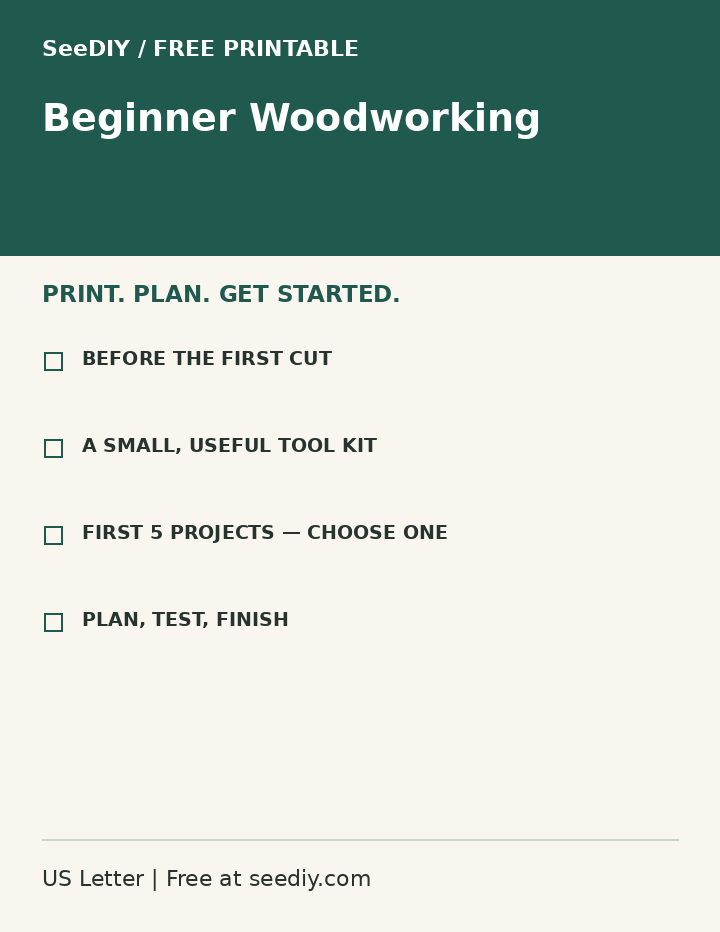
Free printable: Beginner Woodworking
Starter checklist: tools + your first 5 projects. Enter your email to get the PDF.
1. Measure and map your space
A workable shop does not need much floor. Many people start in half of a one-car garage, roughly 10 × 12 feet, or even a corner of a basement. What matters more than size is workflow: boards come in, get cut to length, cut to width, shaped, assembled and finished.
- Sketch the room on graph paper (one square = 6 inches). Mark doors, windows, outlets and anything that cannot move, like a water heater.
- Note the infeed and outfeed space each machine needs. A table saw ripping an 8-foot board needs about 8 feet in front and behind the blade; a miter saw needs length to the sides.
- Place the workbench at the center of the workflow. It is the tool you will use most.
- Keep a clear walkway of at least 3 feet so you are never reaching over a running tool.
Cut paper rectangles to scale for each tool and slide them around. It costs nothing and quickly shows you what fits.
2. Power, light and ventilation
Most beginner tools run on ordinary household outlets, but two tools on one weak circuit will trip breakers. Check which outlets share a circuit and avoid long, thin extension cords for saws. If you plan bigger machines later, ask a licensed electrician about a dedicated circuit; do not guess with wiring.
Lighting is the cheapest upgrade with the biggest effect. Bright LED shop lights overhead plus one adjustable task light at the bench make measuring and marking far more accurate. For ventilation, a window fan blowing out while you sand or apply finishes helps clear dust and fumes. Always follow the label on finishes and solvents.
3. The first tools to buy
Buy tools for the projects you actually want to build, not for an imaginary future shop. A sensible starter kit for shelves, boxes, benches and planters:
- Measuring and marking: tape measure, combination square, speed square, pencil, marking knife.
- Cutting: a circular saw with a straight-edge guide, or a miter saw if you mostly cut boards to length; a pull saw for fine cuts.
- Drilling and driving: a cordless drill/driver, a basic bit set, countersink bit.
- Clamping: four to six bar clamps. You will always want more.
- Shaping and finishing: random-orbit sander, sandpaper in 80/120/180/220 grits, a block plane and a couple of chisels.
- Safety: safety glasses, hearing protection, a dust mask or respirator rated for fine dust, push sticks.
A table saw, router or jointer can come later, once you know what you build most. Good used tools are often a better value than cheap new ones; check that guards and fences are intact and that the tool runs smoothly.
If you would like a full, guided walkthrough of tool choices and shop layouts for small spaces, there is a paid course dedicated to exactly that.
Disclosure: this is an affiliate link — if you buy, we may earn a commission at no extra cost to you. Learn more
Look at Ultimate Small Shop → (affiliate link)
4. Make everything mobile
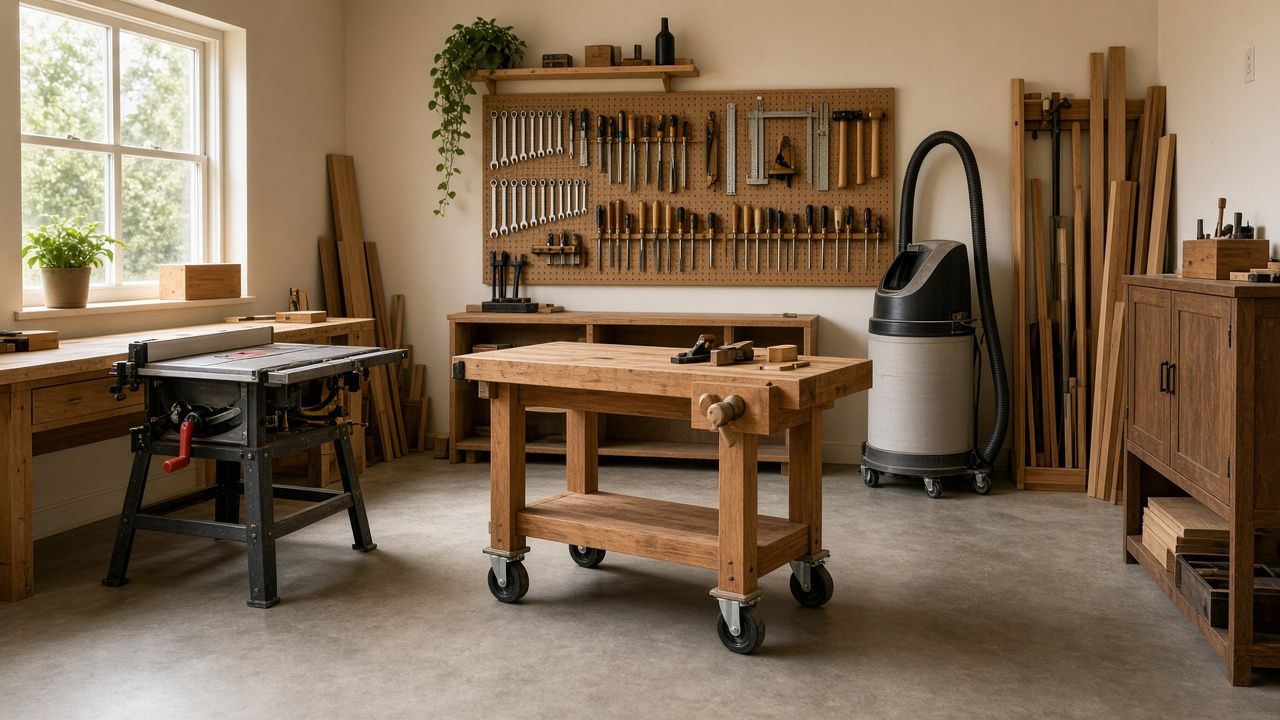
In a small shop, wheels are your best friend. Locking casters on the workbench, saw stand and assembly table let you roll tools out when you need them and push them against the wall to park the car.
- Build a mobile base for each heavier tool from 2x4s or plywood and four locking casters.
- Make flip-top or fold-down stations: two tools sharing one cart, or a wall-mounted table that folds flat.
- Keep tool heights consistent so a cart can double as an outfeed support for the saw.
5. Dust control on a budget
Fine wood dust is the thing most small shops underestimate. You can make a big difference without expensive machines:
- Connect a shop vacuum to your sander and saws whenever the tool has a dust port.
- Add a cyclone-style separator bucket in front of the vacuum so the filter does not clog.
- Wear a properly fitted mask during sanding, even with collection running.
- Clean up with the vacuum, not a broom, which throws fine dust back into the air.
- A box fan with a furnace filter strapped to it is a popular DIY air cleaner for small rooms.
6. Storage that grows with you
Walls are free space. A French cleat system (strips of plywood ripped at 45°) lets you hang and rearrange holders for saws, clamps and squares without new screws each time. Pegboard works for small hand tools. Store lumber horizontally on wall brackets, or vertically in a rack if your ceiling is low, and keep offcuts in one bin you clear out regularly.
Label drawers and bins. Ten seconds of labeling saves minutes of searching every session.
7. Safety basics
- Read every tool manual and keep guards in place.
- Unplug or remove the battery before changing blades or bits.
- Keep a fire extinguisher rated for ordinary combustibles near the door, and dispose of oily finishing rags as the product label directs; some can self-ignite.
- Never work tired or rushed, and keep children and pets out of the shop while tools run.
Start with one simple project, like a beginner wall shelf or a 2x4 outdoor bench. Each finished project tells you which tool or storage upgrade to make next.
Want a step-by-step small-shop plan?
Ultimate Small Shop (ultimatesmallshop.com, sold through ClickBank) is a digital guide to planning and equipping a small woodworking workshop.
According to the vendor, it is written by woodworker Ralph Chapman and covers tool selection, shop layout and how to equip a small shop on a limited budget (the sales page mentions under $1,000). Those are the seller's claims; your real costs depend on what you already own and the tools you choose.
Pros
- Focused on small spaces and limited budgets
- Covers tool choice and layout in one place
- Digital product sold through ClickBank's standard refund process
Caveats
- Digital only — you still do the planning and buying
- Sales page uses strong marketing language
- Order pages may show upsells you can decline
Affiliate link — we may earn a commission at no extra cost to you.
Disclosure & Privacy
This page contains affiliate links. If you buy through them we may earn a commission at no extra cost to you. Descriptions of Ultimate Small Shop repeat claims published on the vendor's own website; we have not independently verified them. This article is general information, not professional advice. SeeDIY is an independent publisher and is not affiliated with the vendor beyond the ClickBank affiliate program. Full details: Affiliate Disclosure, Privacy Policy, Cookie Policy, Terms of Use.
We do not sell your personal information. Hosting, DNS, and security run through Cloudflare Pages and Cloudflare. Questions: our contact form
Frequently asked questions
How much space do I need for a woodworking shop?
Many beginners work in 100–120 square feet, such as half of a one-car garage. Mobile bases and a good layout matter more than size.
What is the first power tool to buy?
For most beginners, a cordless drill/driver followed by a circular saw with a guide or a miter saw, depending on the projects you plan.
Do I need dust collection in a small shop?
Yes, at least a shop vacuum connected to your sander and saws plus a fitted dust mask. Fine dust builds up quickly in small rooms.
Free printable: Beginner Woodworking
Starter checklist: tools + your first 5 projects. Enter your email to get the PDF.